
By Ivan Julian
How to use React.js with Worpdress
In this article, we will cover how to use WordPress as a headless CMS by leveraging the WordPress API and React js when building a project.
You can see a working demo of this tutorial by clicking here.
If you’ve ever wondered whether you can use React with WordPress, the answer is yes. If you’ve built WordPress sites before then the solution may not be as obvious as one might expect.
Just what is a Headless CMS?
Before we get into the code, it may be useful to explain how we will handle this. You may have heard the buzz word “headless cms” tossed around if you’ve searched for an easy way to manage content for your react js project. Because this term is becoming more popular, it may be beneficial to define that sooner rather than later.
A headless CMS is a back-end content management system that doesn’t provide a front-end solution.
By default, WordPress uses themes and templates to provide a front-end for our WordPress sites. Building a site using WordPress requires PHP to interact with the database and create HTML structures our users can view. Using this method to build a front-end can have a couple of downsides.
First, it can create sites that aren’t particularly performant. While PHP is a versatile language, there are better solutions for building User Interfaces primarily because software solutions like Laravel and WordPress do all the rendering on the software. Second, WordPress powers something like one-third of the internet. Because of this, hackers like to try to get into WordPress sites to access sensitive data. Having a separate front-end prevents users or hackers from knowing it is a WordPress site at all.
Okay, so how do I use a React js to do this?
WordPress exposes a REST api that allows access to the data created by the site. We can leverage this technology with a library like Axios to consume the data from our WordPress site and pull it in to our React.js project. This means that we can have the best of both words: the ease of using WordPress to manage content and the joy of building with React js.
Please Note: Axios is not the only react library which can go and get information for us. Another favourite is the “fetch” library, but the advantage that Axios provides is it can also upload data as well as fetching it. Also, it should be noted that not every WordPress API is created equal. The speed of a given website (along with the technology being used) usually determines how fast an API request gets serviced.
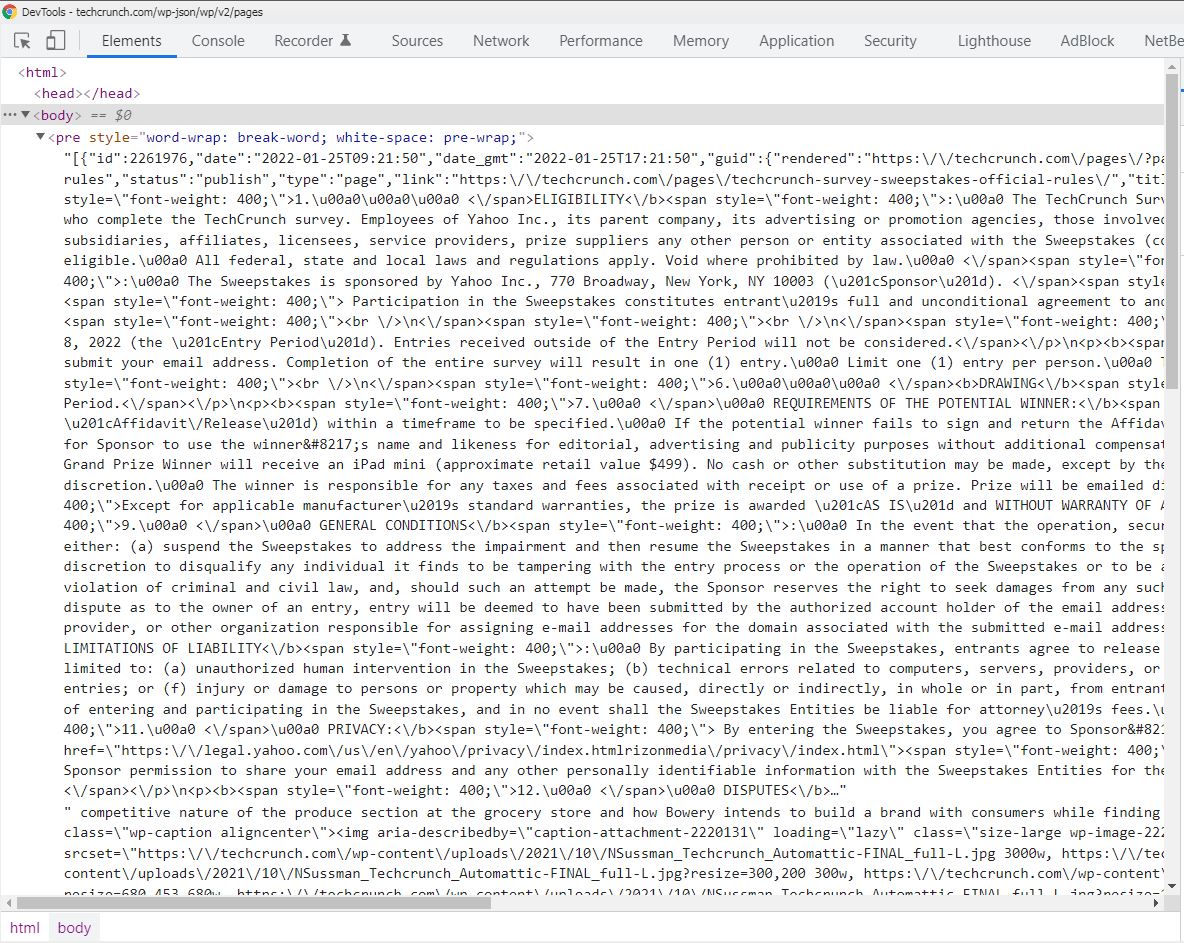
Lets take a look at a WordPress site so you can see exactly what I’m talking about. You can use any WordPress site for this, even a site being hosted at a subdomain. For this article we’ll be looking at the TechCrunch website.
By simply adding /wp-json/wp/v2/posts to the end of the normal TechCrunch url, we will see a JSON output of all of the most recent posts. By simply changing posts to pages, we can see the data for the pages in the TechCrunch site. Here… try it….
We can try out different options like posts, pages, users, and more. Go ahead and play around to see what data you can find. This will allow us to decide what we want to use and what we don’t.
Download the WordPress + React Tutorial Project
To help you understand some of the processes involved, I have created a GitHub starter project that you can download from this link. First, download the files in zip form, extract the zip file and then run yarn or npm install (whichever you prefer) to expand all the required dependancies. Then enter yarn start or npm run start into your terminal. .
If you’d like, before you download the starter project, you can see what the finished project looks like by clicking here.
Install the necessary packages
If we open up the package.json file, we can see that I have already included react, react-dom, and bulma to build our front-end. Before we can go further with our react js app, we need to add a few more packages.
We can add Axios which is a package that allows us to make http requests from our application without any hassle. React-router can be used to create routes which means that we can switch pages or components without a browser refresh. To install these two packages, we can use the following code in our terminal:
Add react-router to your App.js file
Now that we have our new packages installed, we need to set up react-router in our app.js file to tell our browser what should be displayed when different paths are entered into the address bar. To start, we need to import the pieces we need from react-router at the top of the file. At the bottom of the imports, add the following code:
Now that we have imported react-router, we can use those components to set up routes. Our current app.js file looks something like this:
To add a router to our app.js component, we need to wrap the outermost <div> in a <Router> component so we can set up our application’s routes. Then we can replace our <h1> tag with these two routes:
OK, so let’s break this down.
Our first route tells reactjs to show a component called PostList when a user visits the home route (http://localhost:1234). The exact attribute means that it needs to match this route exactly, which means that if we have anything after that it will not go to this route.
The second route will show a component called PostView when a user visits a wildcard route. The :slug denotes that any string after the slash will be a different route in our application. In our case, this string or slug (since that’s what we named it) will be the slug for the TechCrunch blog post. Our app.js file should now look like this:
Next we need to create the PostList and PostView components and import them into the app.js component.
Creating our PostList Component
Before starting to create our PostList component, we should spend a little time thinking about what kind of component we should use. We will be making an http request with axios using the componentDidMount lifecycle method and then we can store it in state. We can use both state and lifecycle methods in a class component. Now that we have an idea of how this component will be built, we can get started. First we should create the file for the component:
Next we should import the stuff we will need to build this component. Add these import statements to the top of the PostList.js file:
After that, we can create a class component called PostList and set up the constructor and state for the index page of our blog. Our state should hold a list of the posts we will be displaying. Any custom functions we write in this component will be bound to the this keyword in this constructor.
Now that we have a place to put the data for our posts, we should create a lifecycle method to pull in that data and assign it to our state. We can do this pretty easily by adding the following code after our constructor:
If you’re developing React applications often, I would recommend installing the React DevTools in your browser of choice. This makes development with react js very simple and keeping track of data being passed through state and props.
We can now check our state to make sure that it is being populated correctly from our componentDidMount lifecycle method. To do this, open developer tools in your browser and go to the react tab. Then we can drill down in the structure until we find our PostList component and the pane on the right shows our state and props.
Since we have all of the posts in our state, we can create a render method with structure for our page. To do this in a simple way, we can use a map() function which will iterate over each item in an array. Our render method can go after our componentDidMount method with the following code.
If we run our site with npm run start or yarn start, we can see that our blog posts are being displayed correctly but we can see the HTML tags being rendered. That’s not cool. To render this correctly, we should create a function to use with the dangerouslySetInnerHTML attribute.
Lets add a function to do this after our componentDidMount but before the render method. We also need to bind the this keyword inside our constructor. We can then use the dangerouslySetInnerHtml attribute to render the post excerpt in a <div>. Our completed PostList component should look like this:
Creating our final PostView Component
If we look back at our app.js file, we can see that the blog post will be rendered with a PostView component, so let’s go ahead and create it!
The code above will create a file to house our PostView component and open it in your default code editor. To make things simple, we can just copy the formula for our PostList component. We can copy and paste the code from our PostList component and make a few small modifications.
First, we need to make sure and change the name of the component from PostList to PostView. Next we need to modify the componentDidMount method a bit. We can add a line of code which will get the :slug from the url in the address bar and use that to filter the posts being returned by the WordPress API down to a single post. Finally, we need to alter the render method to display a full post if one exists or not show an error if it doesn’t.
The code below will be used for our completed PostView component. Take a look at it and see if you can spot the differences and figure out why we handled them this way.
Last steps for our React.js WordPress Frontend.
We are pretty much set now with our blog. There are just a few more small things we need to do to get our application working how we want. First, it’s expected that a logo or site title links back to the homepage. Since we’re using react-router in our project, we can even do this without a page refresh. To do this, we can open the components/header.js file and modify it to look like this:
The last step for our WordPress and React js blog is to add import statements to the app.js file for our two components, PostList and PostView so react knows where to get them from. Once you have done this, you should be able to run the application and see the most recent blog posts from TechCrunch.
Gatsby.js, a Static Site Generator
Gatsby js is one of my favorite tools to build with in the react js ecosystem. It allows us to build a site or app using React, React-router, and Graphql right out of the box! Then, when we actually build the application, Gatsby js creates static files which make our applications stupid fast.
Because the files for our application are being served statically, they can be very fast as the content is all created beforehand rather than as the page is rendering. This can be a bit tricky since we have to figure out a way to trigger a build when we update the content. Netlify is a great service for this as it’s very easy to use and when you push to a certain git branch it will rebuild the Gatsby js project.